What to expect: Install the State Space CLI
Upload your first smart contract
Validate your project appears in the State Space Workbench UI
Configure and Deploy
Initialize project
Run theinit command from the main folder of your Foundry or Hardhat project to create the state-space.toml config file.state-space.toml
Configure settings
Update the following settings instate-space.toml with your project details:Deploy to State Space
Deploy your project to state space by running thepush command:Make sure your code successfully compiles before running the
push command.Workbench
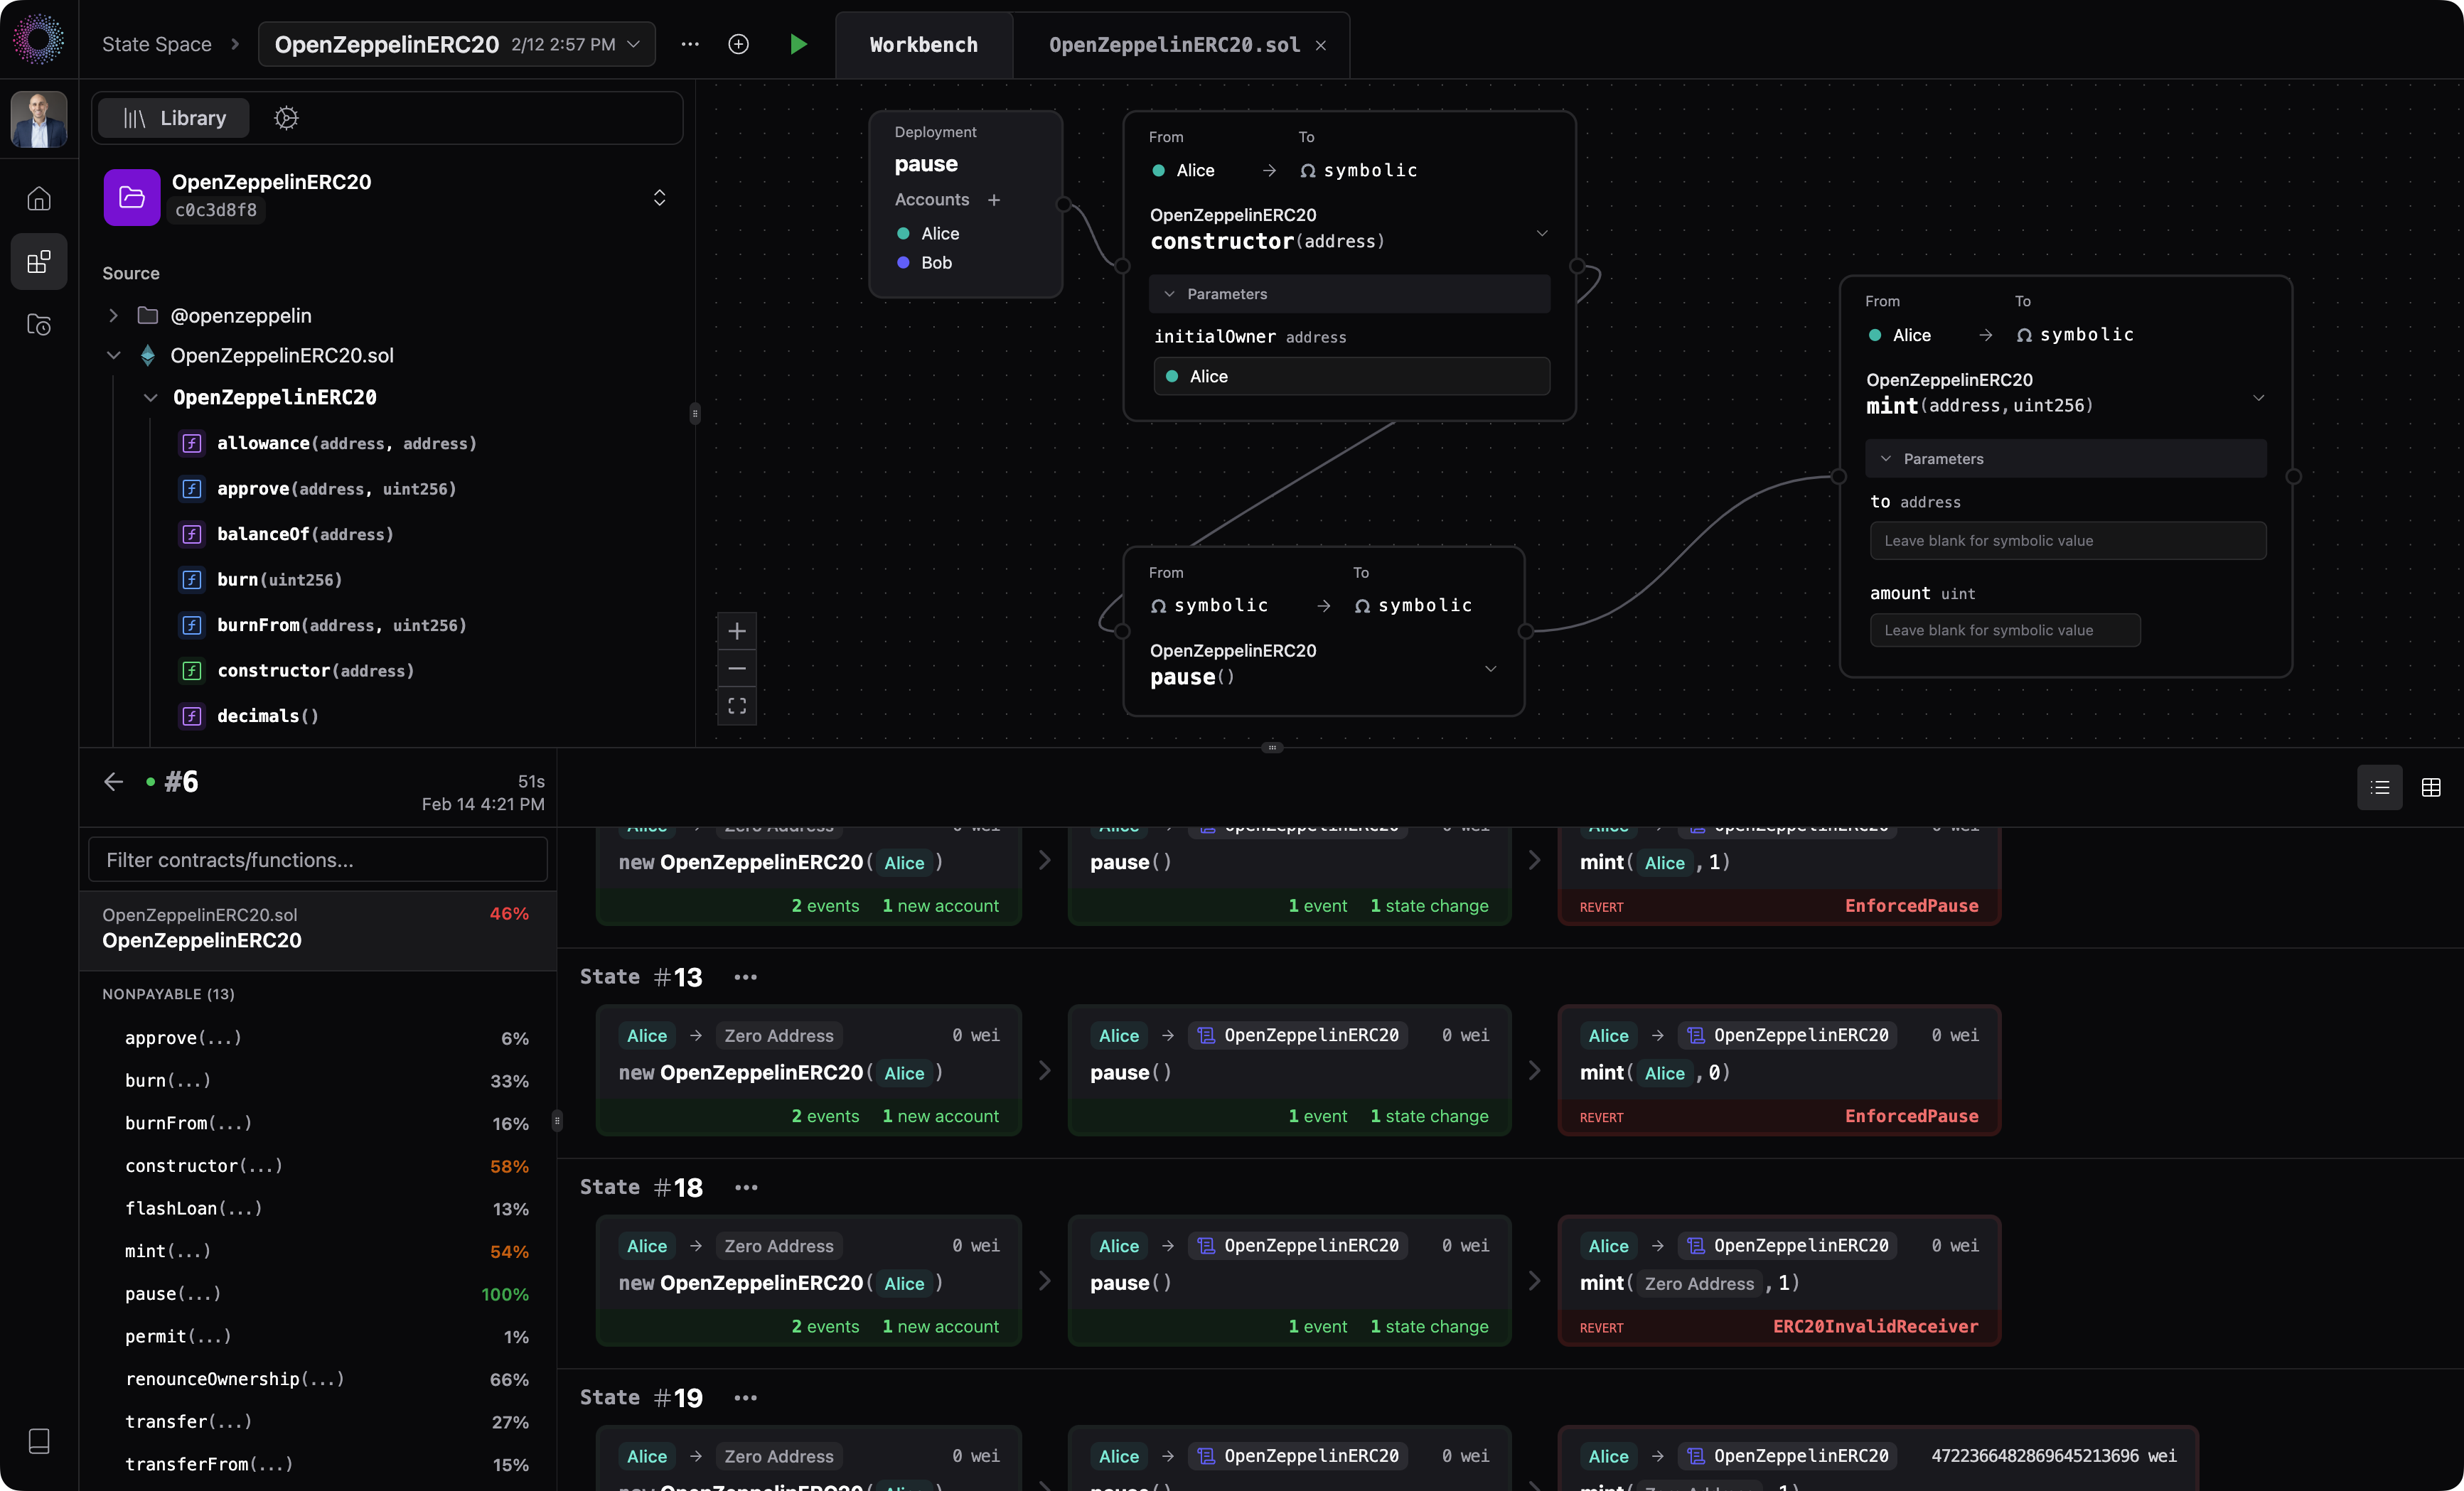
Login to State Space Workbench and open your newly created Workbench project from the Home dashboard.Expand the folder tree, and begin designing a test scenario by dragging a deployment to the canvas, and a sequence of transactions (function calls) to the canvas.For a more in-depth walkthrough, try one of our tutorials:

